If you've been following my instructions at this point you should have a little website set up on your localhost! Yay! But, we still have an issue, the only way you are able to access your website is through your localhost or typing your ip into your address bar! That's no good. Today I'll show you how to connect your ip to a DDNS which can then be connected to your domain name via the company you bought the name off of.
Step 1:
Make a No-ip account HERE
Step 2: Once you are registered and logged in, go to My Account then Host/Redirect on the top left menu bar. You will then click the "Add Host" button which will take you to another screen.
Step 3:
You will then add a host name and pick an ending (mine for example is ddns.net) presumably you know how to find your ip, but if not, here's a link . You will then imput your ip address, make sure that the "DNS Host (A) option is clicked, and add your host!
Step 4:
After waiting a couple minutes for the service to start, load your host name that you entered into the program with the proper ending (Ex. canadianpoultry.ddns.net), it should load your website! (At the moment on your computer only)
Step 5: (Optional)
An optional step that makes having a DDNS easier instead of having to log into your account every time your IP changes. It is a program that you load onto your computer that updates your ip continuously so that you will never have to worry about it again! Once again, another link HERE for the windows version. Just follow the instructions and it will load on your computer and become a small icon near your clock in the taskbar, showing you your current ip address when you click on it.
And there you have it!
Friday 16 January 2015
Thursday 15 January 2015
Screenshots. Round 2.
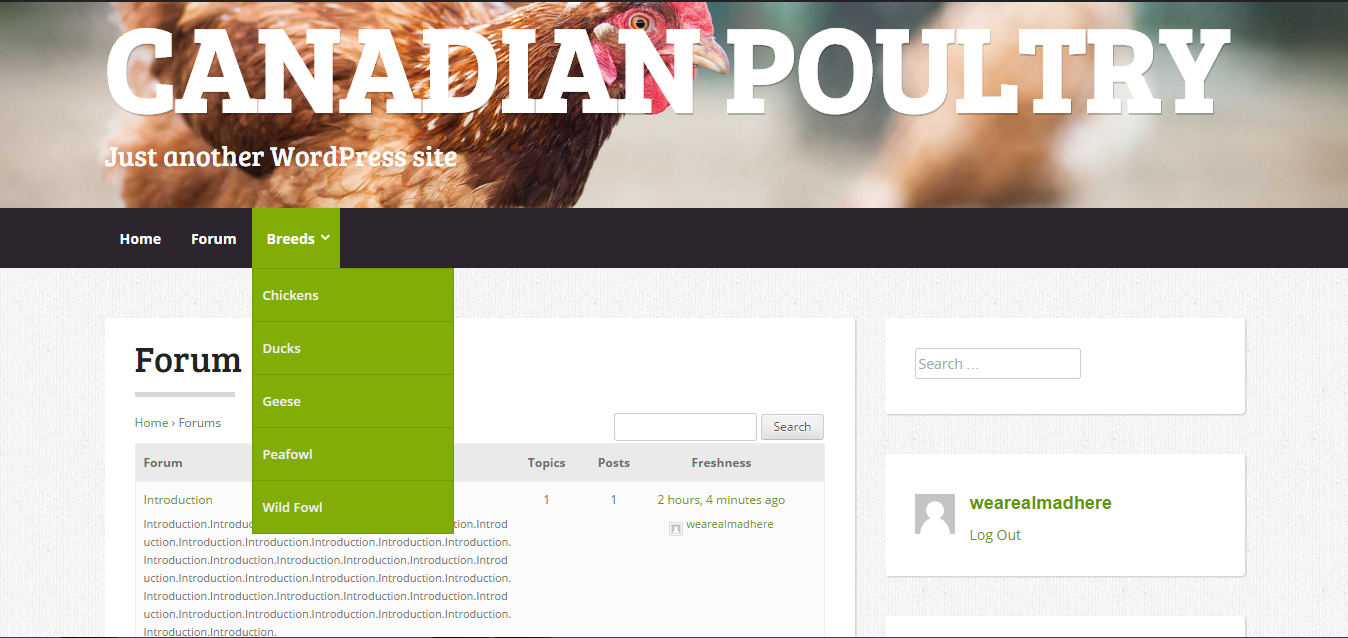 Here we have the forum showing along with the fully functioning drop down menu.
 Registration menu for new users.
 User profiles with avatars able to be uploaded
 General Homepage with search bar, Login widget, and meta to the right.
 Basics of Wordpress: How to get started
I'll admit, without tutorials like these, WordPress would be a lot more complicated to run, so I've decided to give you a couple of links that I found handy:
bbPress - The most downloaded forum Plugin out there! How to install and allow users to register and post.
Themes - A very detailed explanation of where to look for themes (which are sort of like backgrounds) and how to load them to your website
Menus - Adding menus and sub menus to your headers.
Image Gallery - How to show your pictures off in a custom gallery!
Updating your website - Don't miss out on any WordPress updates again!
And to finish it off HERE is my personal favorite tutorial site for all simple things WordPress. Enjoy.
How To set up Wordpress on your localhost
So, my posts haven't been very serious lately and since apparently this is suppose to be an educational blog for people, not just writing what I think as I go along.
I've been having issues with my desktop, mostly involving the computer not wanting to make directories and various other issues. Since there are only a few more days left before the final review I decided to restart everything on my laptop, I'll try my best to explain everything that I did a little better than I have been.
My computer stats:
OS: Windows 7
Model: Gateway NE56R03h
CPU: Intel B820
500 GB HDD
Step 1:
Download WampSever Program onto your computer.
Extract file into whatever place you want (I chose /downloads because it was in there anyway)
Step 2:
When extracted, click on the pink icon. Mine says "wampserver2.5-Apache-2.4.9-Mysql-5.6.17-php5.5.12-32b" But it will vary depending on your computer model and capacity. This will bring you to a set-up menu which will ask you a few simple questions and the usual agree to terms and conditions to install.
Step 3:
Once installed, the program will run and that is fine, just exit out. Then we move on to Wordpress (install link here) after it is downloaded, extract the file into C:/wamp/www, which the wampserver program made for us. Now comes the strange part, you will now go into the wordpress folder and cut everything and paste it outside the wordpress folder into the /www folder.
Step 4:
Go to your browser and type in "localhost" into your address bar, a install screen will welcome you and simply follow the instructions, you will notice that at one point it will not continue, displaying an error screen, thats okay, now minimize the browser and click on the "show hidden icons triangle at the bottom of the screen near your time, you will see a W icon that may be orange green or red, click on the icon and a menu will come up, click the last option if it says "put online", however if it says "put offline" disregard that last instruction.
Step 5:
Click on the W icon and go into the option "phpMyAdmin". Your browser will pop up and it will take you to your localhost/phpMyAdmin. Once you are in there go to 'databases' located near the top of the page, from here there is a text box offering the option of creating a new database, type in 'wordpress' and click create.
Step 6:
Now go back to the wordpress page in your browser, press the try again button and you should be on your way again. It will ask for a directory username and password, this is where you go back to your phpMyAdmin and look on the homepage. On the right you will notice that in the information it will say root@localhost (at least mine did) you will also notice an error at the bottom that says you have no password.
Step 7:
Go once again back to the wordpress browser page and put your new found information into the appropriate places. You are now free to go! Wordpress is now set up and you should have a working wordpress account on your localhost
Subscribe to:
Posts (Atom)